
Watch this video demonstration to learn how to access PowerTeacher Gradebook as a teacher.
Click the Play button to continue.
For more information on how to perform this task, download the Quick Reference Card by clicking Resources above.
View CaptionsTo get started, you first need to sign in to PowerTeacher.
Your PowerSchool system administrator will be able to tell you the server address, as well as the username and password you need to sign in.
Once you are signed in to PowerTeacher, click the “launch gradebook” arrow in the main menu to launch PowerTeacher Gradebook.
On the alert window, select the check box to allow the gradebook to launch on your computer. As long as the electronic authentication certificate is signed by “NCS Pearson, Inc.,” it’s safe to select the check box. This alert pertains only to the software engine that runs the gradebook and does not put you, your computer, or your personal information at risk.
On a PC, the alert window that appears is a little different from what you see here, which shows what is seen on a Mac, but you go through basically the same process.
Click Allow to launch the gradebook.
After the gradebook launches, the main PowerTeacher Gradebook window appears. This window serves as the central point from which you begin your gradebook session.
Now that you’ve learned how to access PowerTeacher Gradebook, scroll down to learn how to navigate through the different tabs on the gradebook main window.
Learn about the features of PowerTeacher Gradebook so that you can use it right out of the box.
First, notice the list of your classes in the top-left corner. This is the Classes pane, which includes the Term Selector menu and class list.
The class list shows all of the classes assigned to you, listed by the year and term you select from the Term Selector menu.
Click the right arrow to continue.
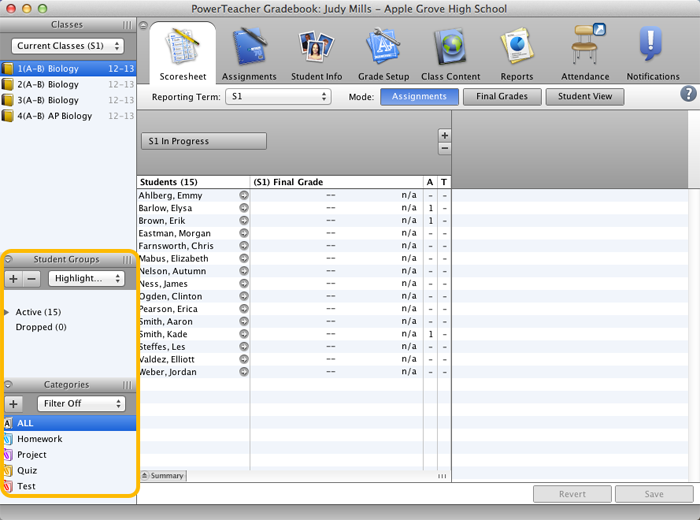
Below the Classes pane are the Student Groups and Categories panes.
The student groups feature is used to organize students by aptitude, for reporting, or for other reasons that might be useful when working with students.
The Categories pane displays assignment categories for the class. Use categories to group assignments by type, such as homework or tests.
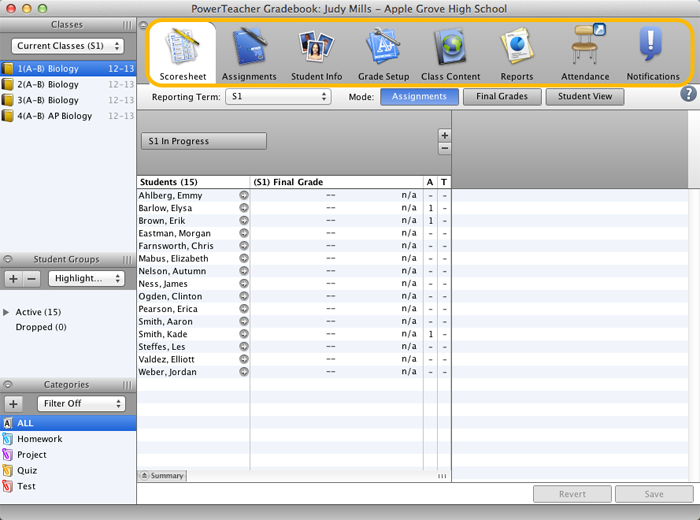
Use the icons, or tabs, across the top of the gradebook to access various gradebook functions.
You’re currently viewing the Scoresheet, which displays all the students in the selected class, as well as the scores they received on assignments.
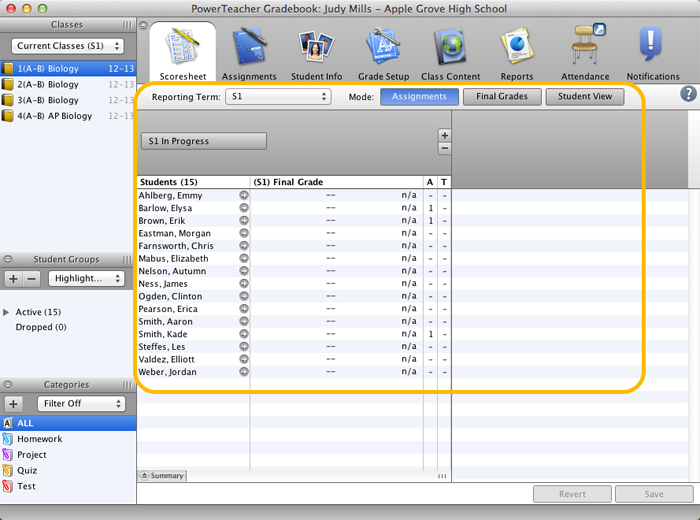
The Scoresheet tab is selected by default when you launch the gradebook.
On the Scoresheet, you can create and score assignments, edit final grades, and view absent and tardy attendance for students enrolled in a class.
You haven’t set up any assignments yet, so the Scoresheet looks empty: it doesn’t display any assignments, scores, final grades, and is just as you would see it at the beginning of the school year.
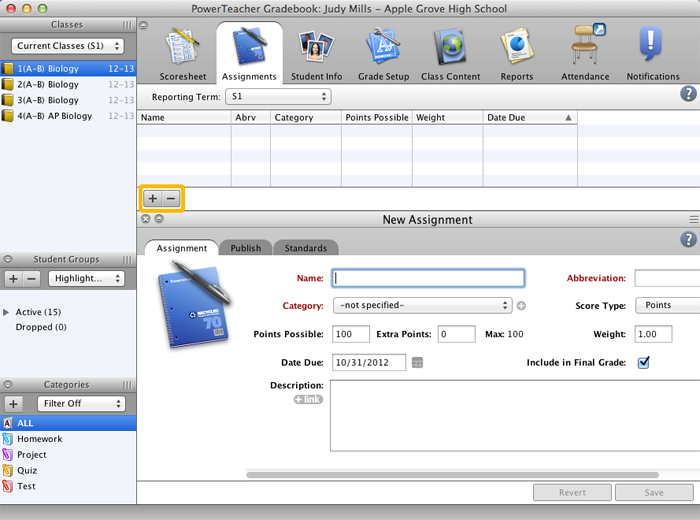
On the Assignments tab, you can add assignments for each class using the + sign.
You will use the Assignments tab to enter homework, tests, projects, and other classwork in the gradebook.
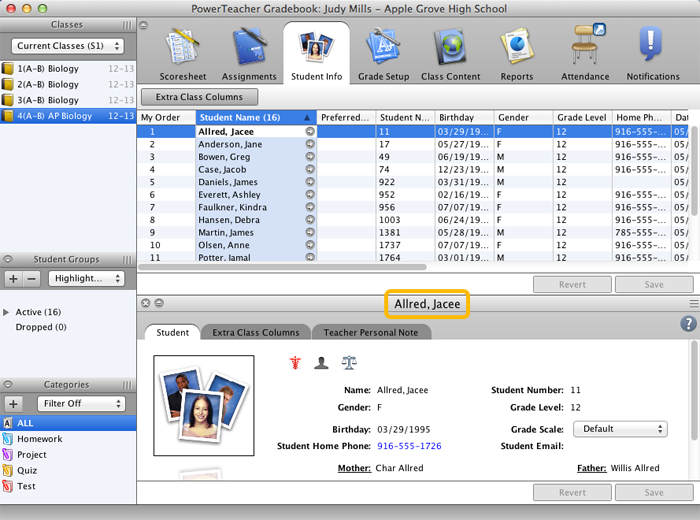
The Student Info tab displays a list of students enrolled in your currently selected class along with basic demographic information about each student.
In addition to demographic information, you can use this tab to locate students’ contact information, such as their phone numbers, and assign them a unique grade scale.
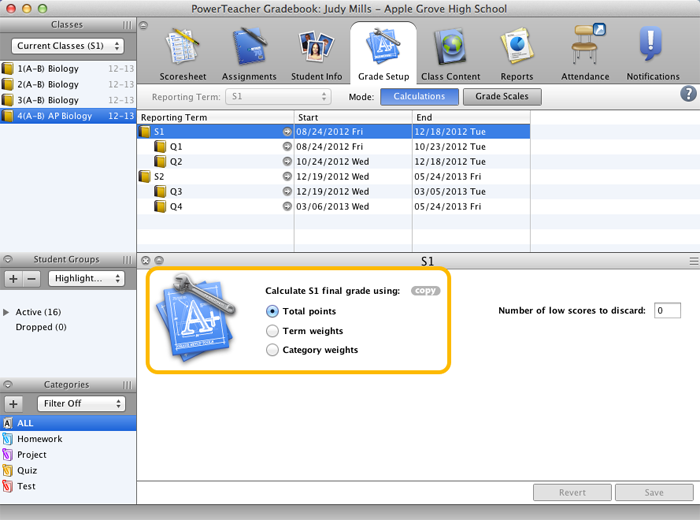
Use the Grade Setup tab to specify how final grades will be calculated for students in your classes.
You can choose to calculate grades based on the total points of all assignments, on the relative weights of grading terms, or on the relative weights of assignment categories.
When setting up your gradebook for a new school year, this is typically one of the first tabs you will use.
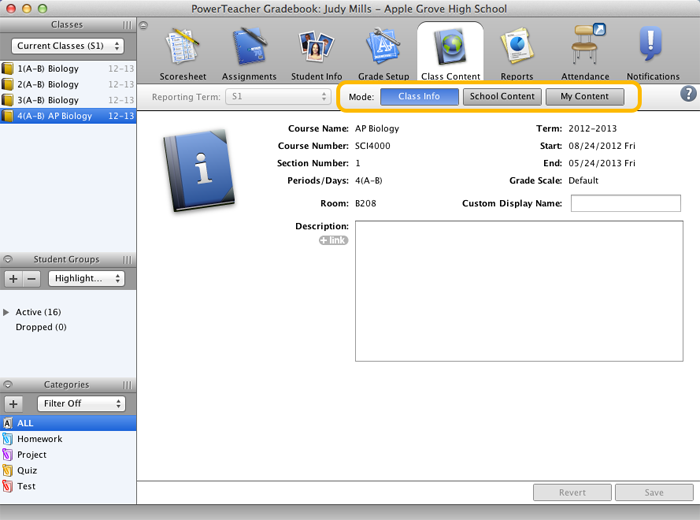
The Class Content tab contains three modes: Class Info, School Content, and My Content.
The Class Info mode displays basic class information.
The School Content mode displays links to websites and documents that are published to the gradebook by your PowerTeacher administrator. You can insert these links as resources in a class description, and as resources in assignments.
Use the My Content mode to create your own list of website and document links.
Students and parents can view the class description and any inserted links in the PowerSchool Student and Parent Portals.
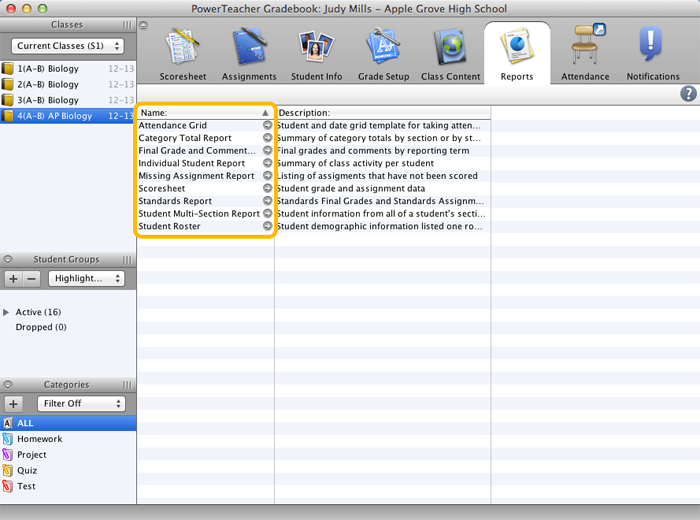
Use the Reports tab to generate reports containing students’ names, attendance information, missing assignments, or final grades.
When you print a report, you can include all students enrolled in an individual class, students enrolled in all of your classes, or a specific selection of students.
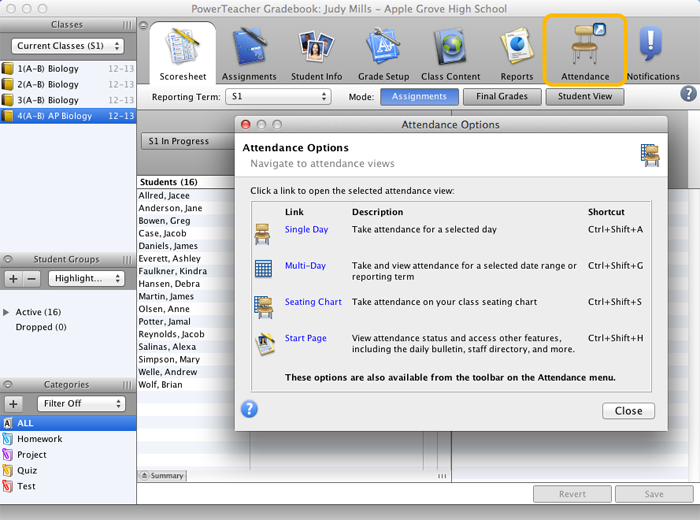
Click the Attendance icon to open the Attendance Options window.
Then, use the links to take or view attendance. Select any of the four links to open the associated PowerTeacher page in an Internet browser.
You can access three different attendance pages in PowerTeacher, so you can take attendance in three ways: for a single day, for multiple days, and by using a seating chart.
You can also access the PowerTeacher Start Page from the Attendance Options window.
To go directly to the Single Day attendance page in PowerTeacher, click the blue arrow on the Attendance icon.
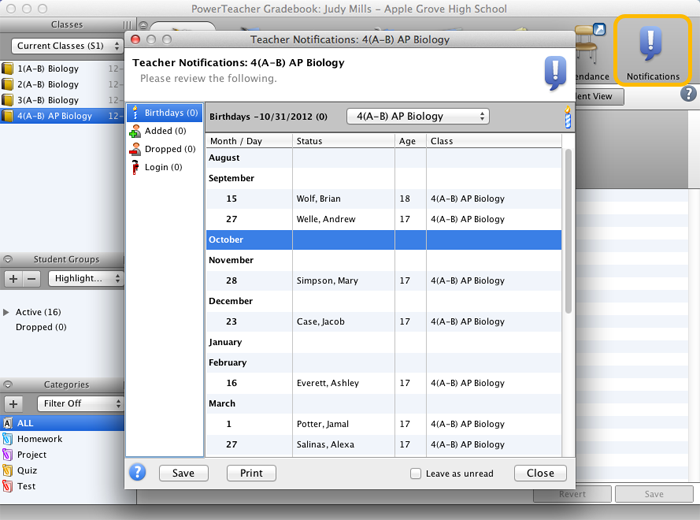
Click the Notifications icon to open the Teacher Notifications window. The yellow number in the corner of the Notifications icon indicates how many notifications you have that day.
Use the Notifications window to view three different student lists: student birthdays, students who were added to the class after the term start date, and students who dropped the class after the term start date.
Also, use the Notifications window to see if your PowerTeacher administrator viewed your gradebook. Don’t worry, administrators can launch and view your gradebook, but they can’t change any data. Click Login to view a list of when administrators logged in.
Now that you’ve seen an overview of the features of PowerTeacher Gradebook, click Next below to learn how to create an assignment.